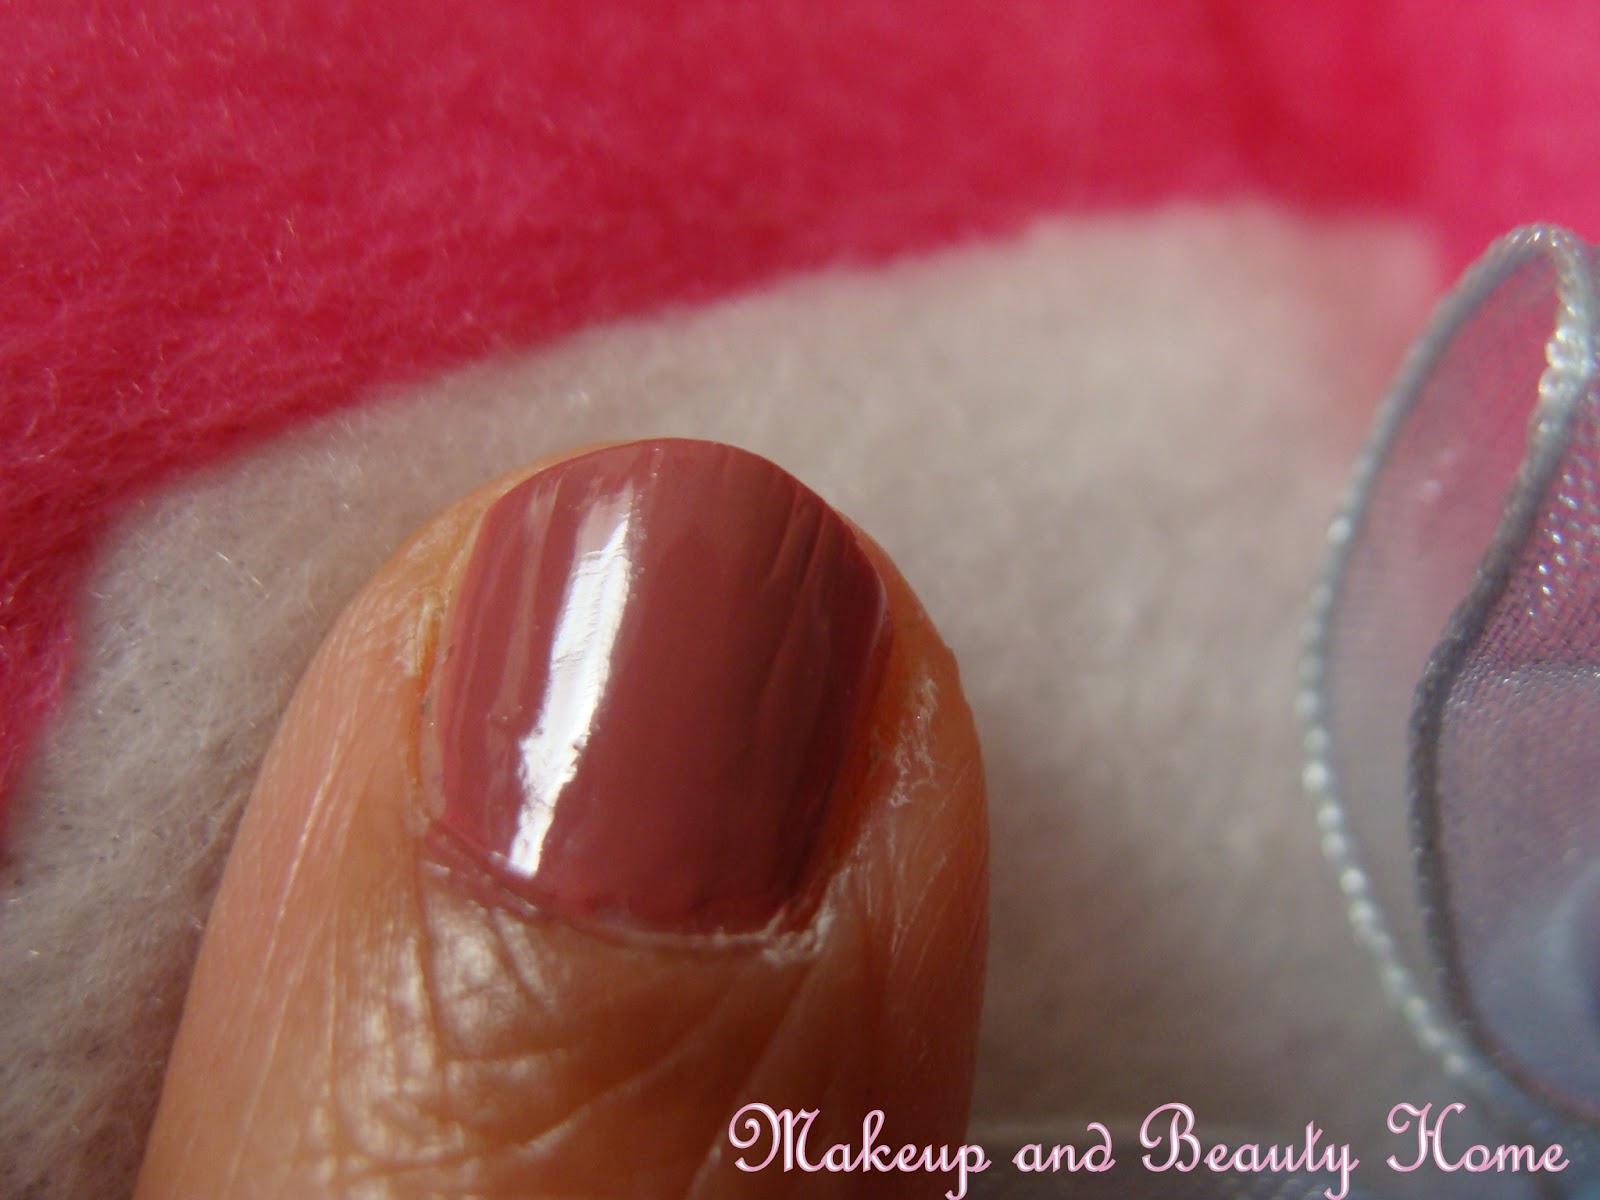
Wednesday, July 4, 2012

Green & Black Striped Nail Art Tutorial & NOTD

MABH 400 Followers Celebration Contest Entry Post 3 by Bhavna Pande
 
Aloha everyone….
I am a nail art fan.Though I don’t have long nails they tend to break a lot so I keep them small  but I have always been a fan of longggggg nails.
Here I am about to do a simple yet cool nail art design it is very easy and you can try various designs using just any tape. This design looks great on both long as well as short nails. Hope you like it.


Things you will need:
  • A green nail colour
  • A dark black nail colour
  • Tape & scissors 


Note: (You can alternatively use shades as your wish to get a different colour combination)


Step 1 :
Paint your nails with green color (you can you any color you like but my favorite color is green, so I have used that one here) Let it dry completely or the end result will be messy.


Step 2 :
Take tape and scissor and cut various sizes of the  tape and put it on your nails not covering the whole nail as we will repaint upon the tape to make a design. I have put a cross design on my nail by cutting the tape into two parts.


Step 3 :
Apply the second nail paint over your entire nail even on the tape..I have used black nail paint here .I somehow like the combination of green and black but you can try it with any other nail color .Just ensure the you use one light and one dark shade .


Step 4 :
After the nail polish has dried completely remove the tape .
TA DAH …see my design


Please do let me know whether you like this simple nail or not and also help me with growing long nails without breakage. Any tips???


Editors note: Thanks for this beautiful & simple nail art tutorial Bhavna. All the best for the giveaway! Girls, please do leave your feedback and love below. Have a great Thursday!

Important Note:  The person with highest number of giveaway entry posts will win a surprise goodie hamper in this MABH 400 Followers Celebration Giveaway Contest! Enter now and win exciting prizes!!! 

London.com


This post is a little bit off subject but it's something that's quite important to me and, as many of you live local or close to London (or visit the city regularly anyway!) I thought it would still be of interest.

I'm very happy to be able to say that the website I've been helping relaunch for the past few months is finally up and running! London.com is essentially the go to guide for anything going on in the city - whether you're looking for a quirky restaurant to eat in, a free guided tour or you just want to know about any events going on whilst you're in London.

My main role as the editor has been providing all the written content for the website - so if you go on and click on anything listed under 'Editor's Choice' - that's all provided by me! Additionally, pretty much any feature on the homepage links to my content.

As someone who adores London, both for its tourist attractions and also for its hidden away quirky hidden gems - being the editor of this website is pretty much my dream. And what makes it different from other websites is that my content isn't just about what's popular - I've found out about things through word of mouth, I've done research and I've actually visited these places. You'll honestly find things on this website that you wont on any other (one of my favourite hidden gems I've suggested is a bar that to get access to, you need to provide a password to someone and then enter through a fridge door!).

There are also loads of discounted tickets and attraction entries on the website, as well as loads of exciting upcoming competitions.

So if you're ever in London, or you're just eager to see some of my writing in a more professional point of view then please do check it out. I'm so happy to be part of this huge project!

Stella & Dot and Bare Minerals Event


Last Thursday, me and Bex attended a collaborative event between Stella & Dot and Bare Minerals at their boutique in St Albans. The event consisted of the ladies at Bare Minerals offering free makeunders, whilst Stella & Dot showcased some of their beautiful jewellery. Both businesses are quite similar in that they largely sell things online rather than in store.

I was really excited to attend as I'd already recently heard about Stella & Dot after spotting one of their stalls at the Soho Flea market in London last month. Stella & Dot are a company that are already heavily known in America and have recently expanded over to the UK, already becoming a fast success. I'd previously had a nice chat with some of the ladies at their stall at the Soho Flea market and fell in love with their jewellery immediately, instantly regretting not purchasing a bracelet I had my eye on that day.

I didn't know much about Bare Minerals as a brand previously, but on the day I soon learnt that they were a brand that used high quality products that not only work as make up should, but that also work to improve your skin when being used, rather than just covering up the problem.

Not the best quality, as this is a picture taken of a polaroid but still lovely!
We were offered champagne or a soft drink upon arrival, and the girls soon began on our makeunders. I really, really loved mine - the girl doing mine was really nice and friendly, explaining what she was doing and what each product does. She also showed me how to recreate the look and as she was applying makeup, she gave me opportunities to do it myself as well to double check I was doing it right. I thought this was a lovely idea! She used only a few products but they made such a difference - not only did my skin feel much softer and smoother but overall I had a much more even skin coverage and many ladies in the store came up to compliment me!

I will say, it's often forgotten that there are two different ways of applying make up - there's putting make up on and there's applying makeup. I will admit, I'm guilty of just getting up and shoving my cover up on my face - I've never properly learnt how to contour and blend different shades properly because I always felt it took to long and that it wouldn't make much difference. However, the lady showed me that simply by using two different shades of cover up and applying them properly, it highlighted my face much differently and really made a difference.

I will admit I did look a tad too bronzed once I got outside but I usually find that to be a problem when you apply makeup under harsh lighting inside shops & such and as I'm so naturally pale anyway, it can be tough to not make me look too orange! 

I found that the products she used were a little out of my price range but well worth it for the difference they made - I could also see that the products were long lasting too with you getting a lot for what you pay for. Had I not of purchased my bracelet, I most definitely would have purchased either the amazing cover up she used on me or the beautiful lipstick that earned me tons of compliments! She wrote down the products she used though so I will be going back to purchase them when I can afford it.

I also purchased my beautiful bracelet but as they were only showcasing their jewellery, I had to wait for it to be delivered and it arrived yesterday. It is pure perfection! Again, with Stella & Dot, I felt it was a little bit out of my price range personally, but I did feel the excellent quality reflected the price and the products are so beautiful. They are perfect for gifts.


Finally, I'd like to note that all the ladies I met at the event - from both Stella & Dot and Bare Minerals - were really, really friendly and chatty. It made such a difference and I even said that to them - to me, if you can speak to someone from a company like they are a friend and have a bit of a natter then that company becomes so much better in my eyes. Everyone loved hearing about my blog and my future plans for it and likewise they agreed that it makes all the difference being so friendly and easy to talk to as a business.

I really loved attending the event Thursday. It was lovely meeting new people and having a nice chat, I learnt quite a bit about how to 'properly' apply make up and as a bonus I finally got my bracelet! 

REVIEW & LOTD: Chambor Eye Tattoo Liner in Shade ET01

I generally "hoard" a lot of cosmetics (yes you all know that) and though I like to call it "collecting" but then the truth is that they do qualify for hoarding :P In one of those hoarding inspired hauls I had gotten myself Chambor's Eye Tattoo Liner in ET01 i.e. Black... I never got around using it though as I was super content with my Maybelline Gel Liner... But this time when I went to Hyderabad, my sister asked me for my Maybelline Gel liner brush and well I was left with no choice but to turn to pencil liners... Thus I started using this Chambor Eye Tattoo Liner and well I am very impressed I must say.

What I really liked about this Chambor pencil is that it is waterline safe and smudge-proof :) Thus you have one product that takes care of your kajal as well as liner requirements :D Yayee.... The fact that the pencil looks all elegant with silver lettering on a black matte base and has a matte silver cap makes it all the more endearing... Yup I am a s*cker for pretty packaging! :D It has some great pigmentation and is soft and hence it glides easily and does not tug the eyelids. One point where Chambor trumps Faces Long Wear Pencils and COlorbar I-Glide pencils is in the fact that the former isn't as soft and "melt-y" as the latter two and hence when applied on the waterline, it doesn't smudge or disappear! :D

It is waterproof but when rubbed under water instead of flaking off cleanly, it smudges all over the place and creates a mess.. This is one disadvantage that I find with this pencil.

Image of the Product:

Swatches:

LOTD:
Applied on the Upper Lashline as well as on the Lower Waterline

 Oooohhhss And Aaahhhss!!!
1. Superb pigmentation
2. Smudge and transfer proof
3. Waterline safe.
4. Non-comedogenic
5.  Not very expensive
6. Is soft enough to glide easily but not as much such that it would melt away and hence it does not finish off fast.
7. Chambor outlets are easily available.
8. Does not cause any reactions.
9. Fragrance free.
10. Available in a number of shades.
11. Waterproof


Ouches!!!
1. Though it is waterproof, if rubbed with water it does not flake-off cleanly. Rather it leaves a messy black residue behind :(

Price
It costs INR 325/-

Would I Recommend?
I would! I prefer Chambor pencils for the waterline while I prefer the Faces Long Wear pencils for the upper lashline.


Overall Rating:
9/10

Tuesday, July 3, 2012

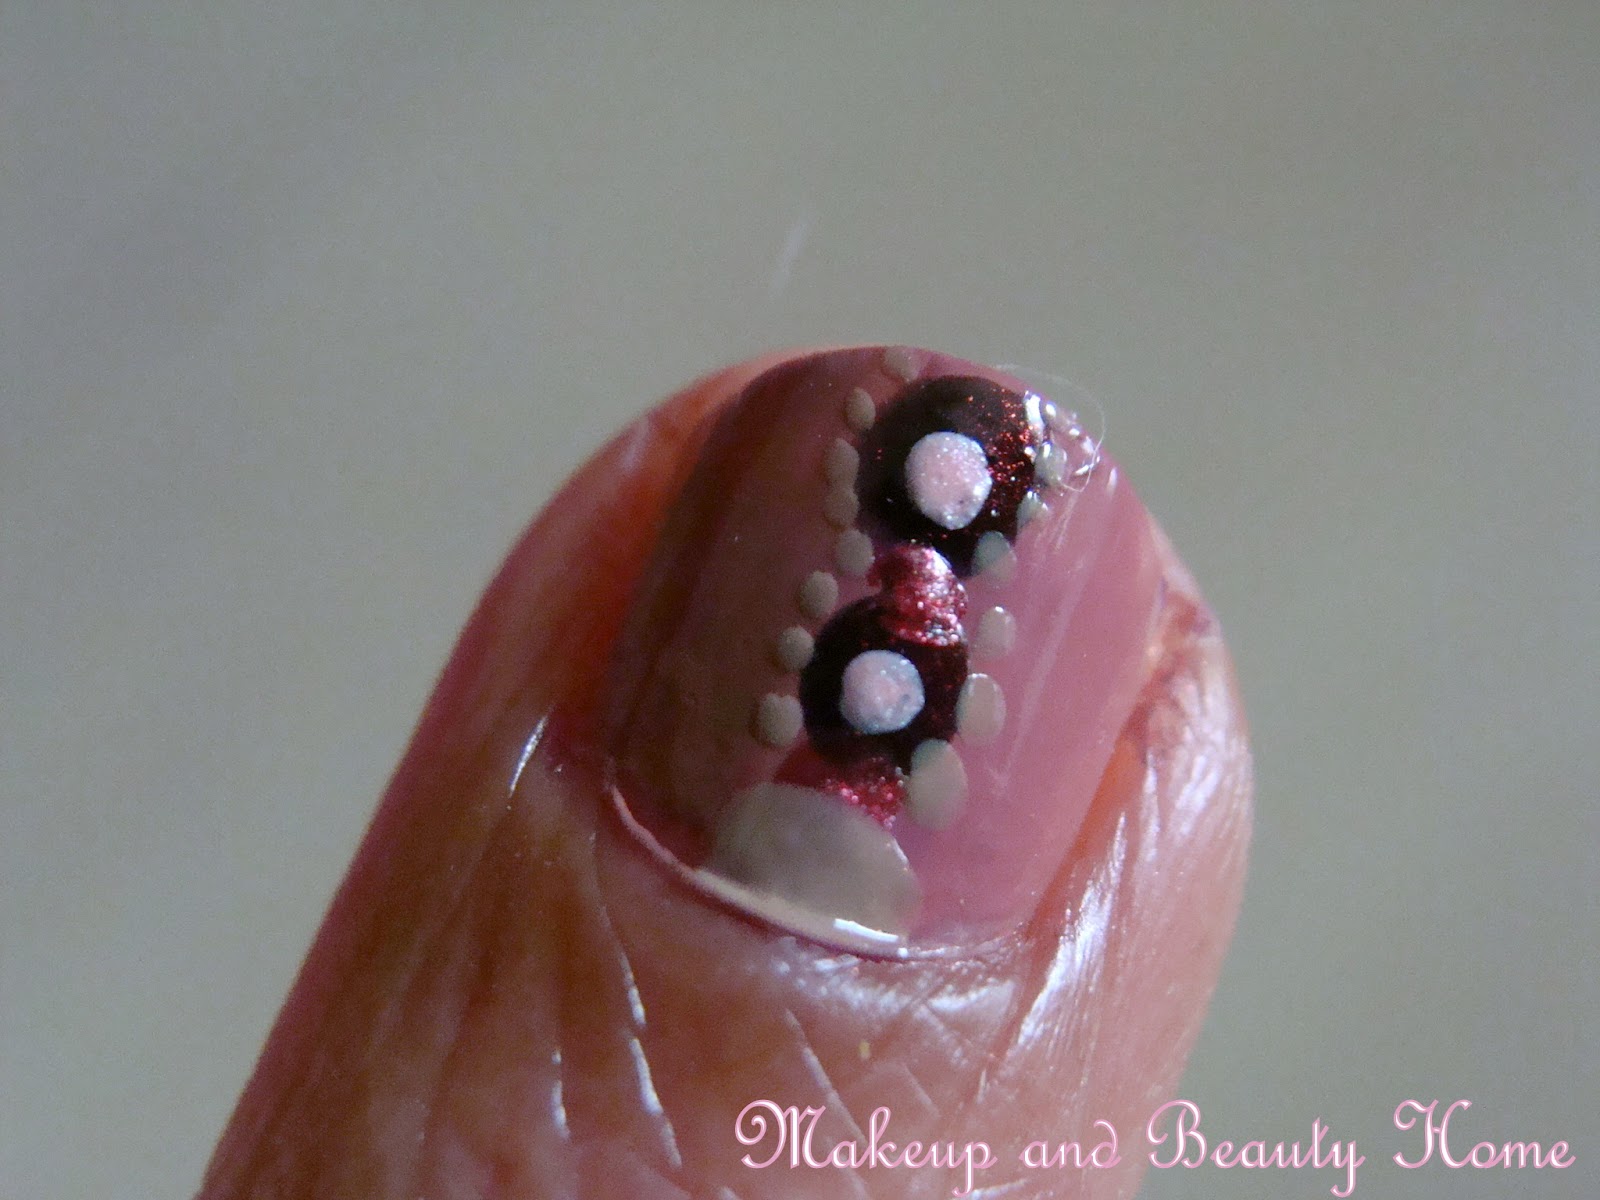
Simple & Elegant Dotted Nail Art: Photo Tutorial


Hi…. all ladies…..!!!!!!

I should greet all nail art lovers today. This is a very simple nail art. I have very short nail base. I have always envied ladies with long nails. It is a boon which I always wish to demand. Yet, I have somehow managed with my short stout nails for so many years. There is no much scope for lot of designs on short nails. Out of so many years of experience with short nails, I have found that short nails are comfortable with dotted designs. So, today's nail design will comprise of several colorful dots.


Let the pictures do the maximum explanation of this simple and elegant dotted nail design.

Step-by-Step Instructions:

Step 1:

After preparing the nails for the painting, I applied base color on the nails. This is my all time favorite color.


Step 2:

Next, place two dark brown dots on the base color, first near the tip of the nail and second right below the first dot. Make sure the base is completely dry. The brown dots can be done with the brush that comes along with the nail enamel bottle.


Step 3:

Now, a very light shaded pink dots on the brown dots. The pink dots are to be smaller than the brown dots. So, I used a tooth pick to draw the tiny pink dots.


Step 4:

After the dots are dry, take a reddish brown nail color, again on the tooth prick tip. Draw 2 dots, one in between the dark brown dots, another after the second brown dots. (Hope, I am sounding fine. Well, the next pic should explain my words!!). After the whole dotted structure has dried perfectly, surround the entire structure with another most light colored skin color.

There goes the final structure of dots. Done. Optionally, you could top it with a coat of clear color.


Products used:


Editors Note: Hope you liked Chand's Simple & Elegant Quick Nail Art. Thank you Chand for this wonderful Nail Art post. I am loving and trying this soon. Readers, please share your comments & feedback below, so that it would encourage our guest writers.


Important Note:  The person with highest number of giveaway entry posts will win a surprise goodie hamper in this MABH 400 Followers Celebration Giveaway Contest! Enter now and win exciting prizes!!! 

Monday, July 2, 2012

Celebrity MAkeup: Sushmita Sen and Peach Eye Shadow

I have always believed and followed that we must never ever match our outfits to out makeup color to color. The makeup must always complement our outfits but never "match" it...

Here's why...

Now don't you think the whole look falls flat? Isn't it lacking something?
I would have loved to see her with a golden eye shadow and a brighter pink lipstick...

Image Source

Some helpful wisdom for when...you're feeling unmotivated


We all feel quite unmotivated sometimes - whether you're a blogger, a writer, a photographer - anything! Absolutely everyone has those days where they just can't do it, no matter how hard they try. I feel like that right now. I've just tried to type up another helpful wisdom post, but everything I wrote sounded wrong. It either sounded forced or like I was rambling too much. I just couldn't do it, so I decided to leave it for now, and instead concentrate on a different subject - this one!

Sometimes I feel like a bad writer when I feel unmotivated. I feel that, by not being able to write, even though it's primarily my job and my biggest passion in life, I must be being quite unprofessional and that I shouldn't really call myself a writer. But first of all, if you ever feel like that - DON'T! Absolutely everyone feels unmotivated sometimes - especially creative types like us! Everyone has had writers block, so how do you get over it?

I find it helpful to do exactly what I've just done - if it just isn't working, save it, put it aside for now and take a break or work on something else for a bit. Countless times I've left things for a while and with a bit of space I've gathered a bit of perspective and have been able to come back to said things. Granted it's usually at 3am in the middle of the night...but generally, having a break helps, a lot. 

Having a complete break helps too, for example instead of working on something else, just relax for a bit. Read a book, watch a movie or go for a walk - anything that will clear your mind. Soon enough an idea is bound to come to you, or simply by completely emptying your mind, you can find yourself back in the right mind set to write.

Creating a space or atmosphere to write in helps as well. I spend endless hours lying on my bed, reading blogs, watching TV shows etc and often I get inspired to write then. But I simply can't. I feel uncomfortable and by lying on my bed, I'm too relaxed. I usually have to take my laptop into the study or sit at the dining room table. It's amazing, but simply by sitting up straight at a desk or a table it makes such a difference to my mindset and immediately I feel much more determined and hard working. It doesn't always work, but 85% of the time I get more work done than I would have otherwise. Usually it helps to have a cuppa with me too!

Indulge yourself. You know what inspires you - going for a run, reading a particular magazine - so do it! If there's things that specifically inspire you then, well, it's as simple as going and doing it. Chances are afterwards by feeling so inspired you'll be able to use that feeling when writing or otherwise.

Finally, if all else fails, it helps to just get on with it. If you're writing and it sounds bad, restart the paragraph with a different tone. Keep doing this until you finally like what you see. If this still doesn't work, just keep writing, even if you feel like you're rambling or making no sense. Write until you've got all points down and then think about reworking what you've written or turning it into a final draft. The beauty of writing means that the first draft doesn't always have to be the final one, so by just getting on with it you've at least got it done, even if the words you've written won't be used.

What do you do when you're feeling unmotivated? Do you feel unmotivated and uninspired quite often?

Note - I am feeling very unmotivated at the moment, so if this post has rambled on a bit or doesn't seem to make much sense - I apologize - at least I've warned you in advance!